07 October 2015

Snickers Macaron


I am always asked where do I get  the time? The time for this, that or the other. 

But the thing is I don't have the time. I have the same amount of time as you or anyone else and I just haphazardly decide what to spend my time on. That'll mean somethings get left out altogether, put on the back burner or get thrown on a list for "another day". Then there are somethings that the world stops for. Those moments where it doesn't matter what you are doing, the world stops.

Did you ever get one of those moments? The have to, right now this instant moments, where you just need a treat? Born out of the necessity to have something sweet and salty but you don't want to just go buy a snickers. That... and because you're in your pajamas since you got home from work and the thoughts of getting dressed again is just too much. Instead you decide you want to lavish over making something, that takes up all your time in the world and then is gone in about two bites. You know the moments I'm talking about right?

It's the salty peanuts. It's the crunch. It's the soft chewiness. It's the stuff it all in my mouth at once and not regret it-ness! 

This batch came to school with me and were a big hit! They are a super little hey look, I baked and you can have some, type of thing!  And they are gluten free too so you know, works for those with allergies..

Unless you've a peanut allergy... Then this post, really, is not for you.


Macaron Shells
This recipe doubles up nicely. 
I have never tripled it because holy moly... that makes a lot of macarons!

4 aged egg whites (and by aged I mean crack the eggs, leave them covered over in a bowl on your counter over night- up to 24 hours.)
100g caster sugar
150g ground almonds
280g icing sugar
3 tbsp cocoa powder
2-3 tablespoons crushed salted peanuts

You need to start with a clean, grease free mixing bowl and a mixer. (I use the silver bowl and whisk off my stand mixer but, a hand mixer will do perfectly if that’s what you have!)

On a high speed, whip your egg whites until soft peaks form. Continue whipping the egg whites on a high speed and start pouring the caster sugar into the mixing bowl. I start off with a slow and steady stream and stop after 1/3 has gone in. I let it whip for a while and start again, adding another 1/3 and then stopping pouring sugar. Repeat for the third batch. 

Continue whipping for a further 3-4 minutes until your egg whites form a thick and glossy stiff peaked meringue. 


Sieve together the icing sugar and ground almonds into a large bowl and discard any large lumps or bumps you found were too big to go through the sieve. Sieve in the 3 tablespoons of cocoa powder and then sieve the entire dry mix for a second time to make sure it is completely lump free and airy.

Taking a spatula, fold the egg whites into the almond, dry mixture. Your aim here is to squash out any air in the meringue. You can be rough with your folds, just make sure to keep folding through, making sure all the dry mix has been incorporated into the meringue.

You’re going for, what the internet describes as, a “thick ribbon” consistency. Essentially that means the mix almost falls back on itself in around 10 seconds.


I use a macaron silicone mat as a guide, under my parchment paper to pipe my macaron shells to size. You can print off macaron templates which are very helpful in giving you a good reference for size when you are piping out macaron. 

Line a few baking trays with parchment, and using your template, or not, pipe the rounds onto the tray. Keep going until you use all the mix- this recipe yields about 28-30 macrons shells. Giving you 14/15 whole macarons.

Holding your tray about a foot off above the counter top or table you are working at... drop it! Repeat this a couple of times to knock out any air bubbles and smooth out your macarons. Sprinkle the crushed peanuts over the wet tops one half of your shells and leave to dry. (You can so both sides if you like.. It's up to you!)

Leave the shells to rest so that they form a skin and have become dry enough on the outside that you can lightly touch them.  This process could take up to an hour.

Preheat your oven to 130C/250F, Gas mark 1/2.. Once the macarons are ready for the oven,  pop them in for 8 minutes. After the 8 minutes, insert a wooden spoon into the oven door to keep it a little bit open. Continue baking for another 4-6 minutes until the top of the shell is crisp and if you wiggled it, gently, from side to side. It should be one piece!

Remove from the oven onto a cooling tray and cool completely before filling. Continue baking whatever other shells are left in the same way.


Caramel Sauce

Cook 125g butter and 180g of dark brown sugar in a medium non stick pan over a medium heat for two to three minutes, until the butter has melted and the sugar has dissolved.
Whisk in 200ml of double cream and bring the entire thing to a light boil, stirring constantly.

Turn off the heat and allow to stand until it's cooled slightly, stirring often.


Vanilla Buttercream Frosting

225g soft, room temperature, unsalted butter
500g sifted icing sugar
1 1/2 tsp vanilla bean paste, or 1 vanilla pod
up to 60ml cream/whole milk

Using an electric mixer, beat the butter on high until it is very soft and pale. (TIP: pop the butter in the microwave for a few seconds until very soft.)
Add in the icing sugar a few cups at a time.
If the buttercream is very thick, add a tablespoon of cream or milk in until the desired texture has been reached. 
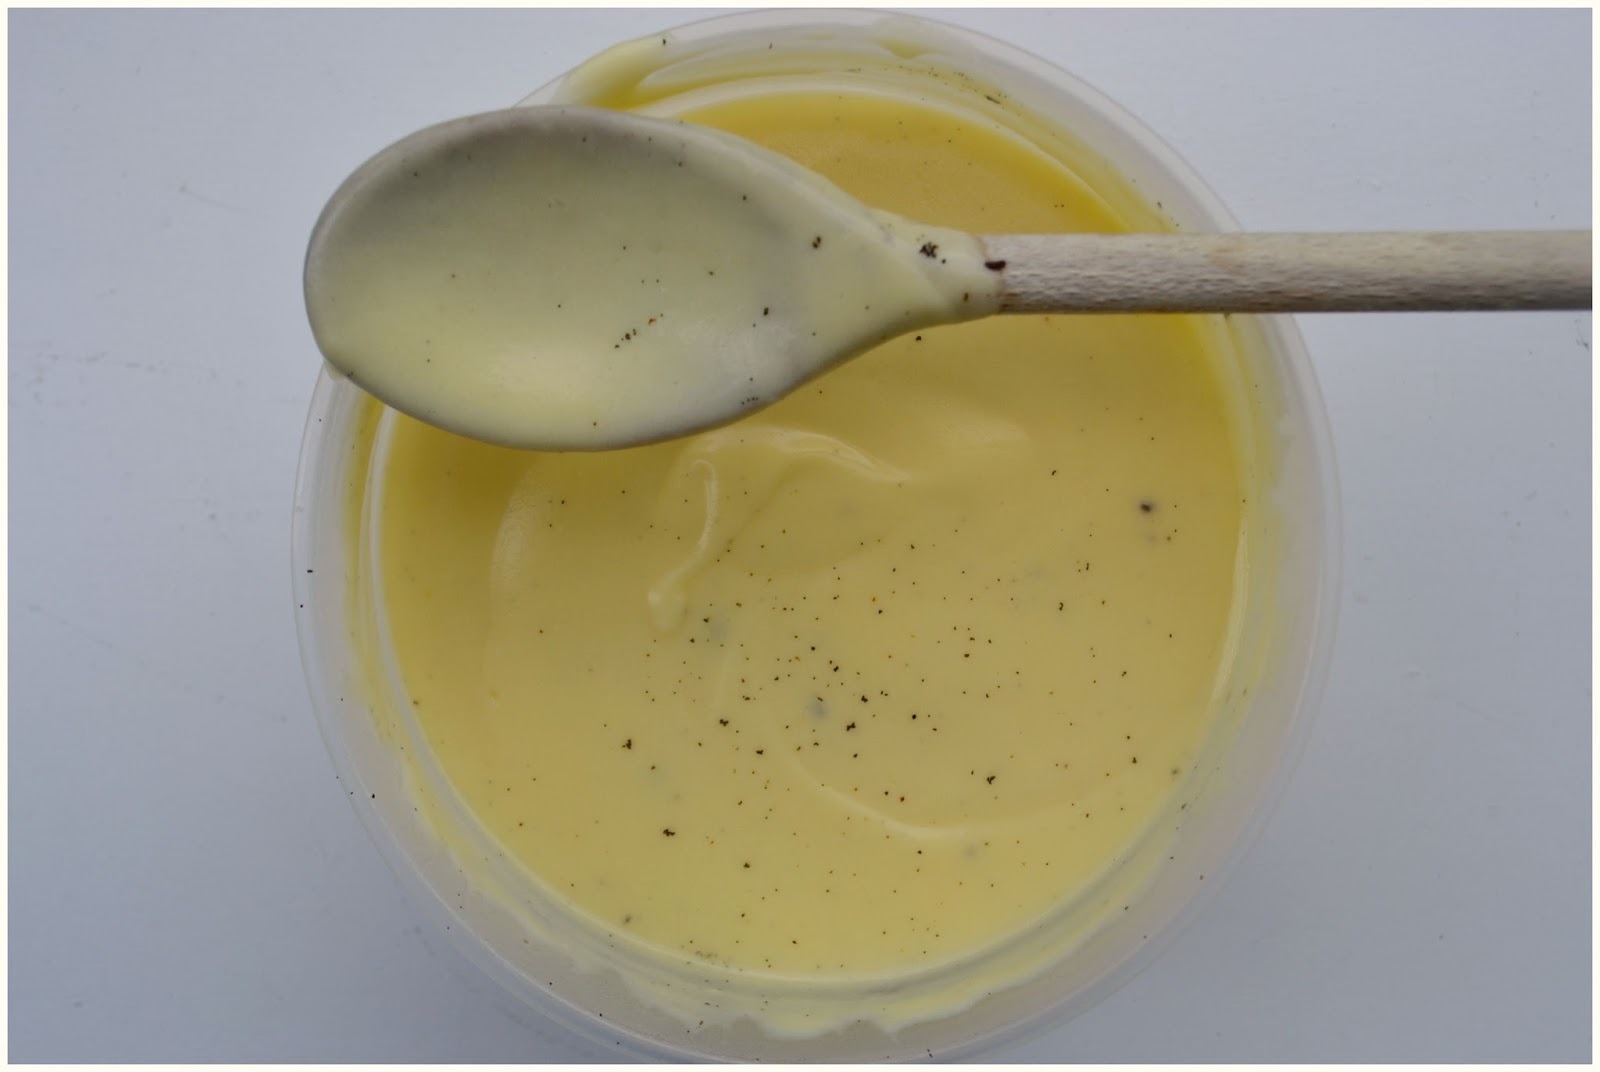
Add the vanilla bean or paste.
Mix the bejeebus out of it until light and fluffy. The faster and longer you mix this, the lighter and fluffier it will be. 

Fill each of the macron halves with some buttercream and some caramel. Top with the macaron shell with the peanuts on it and serve. I like them left until the next day. leave them in the fridge over night, if you can, and allow to come to room temperature before serving. The flavours meld together and in my humble opinion, the macaron shells are nicer!


Let me know if you try them.. I would love to see how you got on!


04 October 2015

Irish Cream Chocolate Tart


You know how I am one for making a list of things?

Things I have to do. Things I need to buy. Things I need to make. Sometimes when I do things and I haven't made a list, I will retrospectively make that list and cross off what I have completed. 

I put this tart on a list. The long finger list as I like to call it, many days ago. It went on purposefully, knowing I would be making it for Chocolate Week on the Bake Off. What I didn't do... was factor in the multi-elemental nature of this tart. How this tart, was a list in itself. Much to my absolute amusement I got to make another list and ticked off each of the components of the tart as they were completed. Speaking of lists.. shameful plug.. I made it on to this one!!

What I am trying to get at, in probably the most long winded version, is that this tart is a little time consuming. It has a structure and a few bits and pieces to it. There's a make, bake, set up time. Followed by a make, glaze, eat it time. Paying no heed to the macarons on top, this tart is taking you the bones of 3 hours. Buuuuuuttt... If you put all those elements down on a list, you could really spend an afternoon crossing them off and having, at the end of it, a very yummy Irish Cream, Chocolate Mousse Tart.

What's not to love there?


Chocolate Pastry Case

240g plain flour
50g dark coco powder
1tsp caster sugar
150g diced cold butter (+ a little extra for greasing)
1 large egg

Put the flour, coco powder, sugar and butter into a food processor and blitz until looks like breadcrumbs.
Crack in the egg and bring together until a soft ball forms.
Wrap in clingfilm, pat down and leave in fridge for 30 mins.
Grease up a 9/10 inch round pie dish.
Preheat your oven to 180C, 350F or gas mark 4.
After the 30 minutes, roll out the pastry to fit your pastry tin. Trim off any access.


Blind bake your pastry case bottom using pastry beads for about 15 minutes. Remove the beads and bake again for a further 5. Allow the pastry to cool, in the tin, completely before filling. 


Chocolate Mousse Filling

45ml milk
80ml Irish Cream Liqueur
200g dark chocolate (I used 60%)
375ml double, heavy cream

Put the first 3 ingredients in a bowl and pop it in the microwave. You want to heat the milk and Irish Cream enough so that they melt the chocolate, but not too hot that they boil in the bowl. I use a medium setting for a minute, then check and stir. Then pop it back in for another minute and stir again until it's completely melted and mixed together.

Set it to one side to cool.

Soft whip the double cream to just the soft peak stage. If you whip it any more your mousse will become grainy and not soft and billowy like you want! When the chocolate is cooled pop it in on top of your cream and fold through until it is streak free, i.e. it's all chocolate now. No more cream can be seen.

Fill your cooled pastry case with the chocolate mousse and set in the fridge for at least two hours, if not more to set up.

Lick the bowl clean. You will not regret this part. Seriously.


Chocolate Ganache

250g semisweet dark chocolate 
250ml Double Cream

Put the chocolate into a heat resistant bowl.
Heat the cream in a saucepan over a medium heat, stirring occasionally. When the cream begins to simmer, quickly remove from the heat and pour it over the chocolate. Swirl the bowl to ensure all the chocolate is coated in the hot cream.
Cover the bowl to trap the heat and let it rest for 5 minutes.
Remove the lid and slowly whisk the mixture until you have a smooth glossy ganache.
Leave to cool for about 30 minutes before using as a glaze on the cake.


Once covered, decorate how you like.. I had white chocolate macarons made and filled them with left over ganache. You can pop the tart back into the fridge if you want and allow it to set up even more, or you can serve immediately. Choice is yours.


Be careful not to over bake your pastry like I did.. Rookie mistake. I'd have left the tent for that!


And now there's only one week left with the Bake Off. Can you believe it!

Jenny and all the other bloggers have been really pushing out the boat with their creations the past few weeks. Baking Queen Lucy, is hosting for us this week and I can't wait to see what everyone got up to. Put popping by the link-up on your list for today... it'll be choc full of deliciousness. (See what I did there...!!)


30 September 2015

Baked Buttermilk Donuts


This post can be nothing other than short and sweet because that's all that these little cuties lived. The minute they started baking, husband was in, circling the oven like a hungry wolf. The kids sniffing the air like they'd never smelt vanilla baking before... 

My pal brought me home a set of Nordic Ware Donut Pans from a recent trip to the States. I was so impressed with the quality, I genuinely couldn't wait to try them out. Seeing as I wanted to get the recipe right first time, I took to Pinterest for, ahem, "research". Three hours of my life later and armed with little more than a few scribbles on a sheet, I emerged with a multi-influenced recipe and no idea if it'd work.


I didn't actually spend three hours looking up donut recipes, I browsed EVERYTHING else. Because let's face it, the rabbit-hole-vortex that is Pinterest traps you from the get go. Coming out alive is a win in itself. 


Buttermilk Baked Donuts with a Vanilla Glaze

525g self raising flour
150g sugar
1 tsp baking powder
2 large eggs
1.5 tsp pf vanilla
55g butter (melted)
55ml vegetable oil
250ml buttermilk

Preheat oven to 180C/350F or Gas Mark 4. Liberally grease two 6-cavity donut pans with cooking spray and set to one side. Or one 12.. whatever you have.

In a large bowl whisk together the flours, sugar and baking powder together until combined.
Whisk the eggs in a medium bowl until frothy, and then stir in the vanilla. Pour the egg mixture into the flour mixture and begin stirring to combine.
Add the melted butter and the oil and fold through until just incorporated.  Now add the buttermilk and mix through until smooth. The batter is runny so it's easier to...

Scrape the batter into a piping bag and snip open the tip. Pipe the donut batter into the pan holes until they are about 2/3 full. 
Gently tap the donut pans on the counter to dislodge any bubbles.

Bake for approximately 9-11 minutes. Allow the donuts to sit in the pan for about 5 minutes before gently removing. Turn the pan upside down and gently shake it until they pop out. Allow to cool fully before dipping.

Glaze
60ml milk
240g icing sugar
1tsp vanilla extract/paste

To make the glaze: On the hob, put the icing sugar, milk and vanilla in a small pot over medium heat until melted and combined. Dip each donut into the glaze, allowing excess to drip off on a wire rack over a piece of baking parchment. 
Immediately sprinkle with er, sprinkles as the glaze crisps super fast. Reheat the glaze or add more milk as necessary if you need to keep it smooth.


Hopefully you will have more than three donuts to take photos with.. Hungry wolves snap these up fast! These are great but they come with a warning. The fact they are baked, tricks your mind into thinking they are healthy for you because fried donuts are... So. Bad. For. You. And these aren't fried.

All in moderation I say.. just possibly not the all 12 to yourself kind of moderation.

**opinions expressed in the post are my own, I wasn't asked to give them. I just freaking love those donut pans... and while I would have seriously loved it if Nordic Ware sent me their products to use... They haven't... yet!! (one can dream right?)**


27 September 2015

A Choux Bun.. With a Twist.


This came to me. In class, last week while I was daydreaming about patisserie (as I do) and I thought why can't I do that? I can, nay I should do that. I should challenge myself to build a choux tower but on a miniture scale. On a cupcake.. on a bun. A choux bun.. ohmigoshyouguys.. 

And I did.

Only it took two attempts at the choux and another two attempts at the baking because the sizes were all over the place (I have figured out for you below so don't worry!). But the lads here didn't mind, sure they all love choux buns and the fact they were like little poppet sized ones made them even better. Made it a pain in the bum for me, to swat them out of the kitchen as they stole my mini morsels but nevertheless the challenge that was accepted, was fulfilled. 

And I have to say I am pretty smug about it too. Isn't that awful.. to be smug? I could dress it up and pretend to be proud of my creation but no.. nope, I am smug. Smugly smug with a huge grin like.. did you see what I made. Look what I made.. are you looking?

Good. 


Choux Pastry

100g butter
100ml water
70ml full fat milk
140g strong white flour
3 large eggs

Preheat your oven to 200C/400F, Gas Mark 6.
Grease a baking sheet with butter.
In a pot, put the butter, water and milk and melt the butter over a low-medium heat. Once melted, bring to the boil.
Remove from the heat and immediately tip in the four and stir vigorously until a smooth ball has formed and it comes away from the sides of the pot.
Put the pot back on the heat for a minute or so to further cook the dough, stirring all the time.
Remove from the heat once again and allow to cool for about 10 minutes.
Beat the eggs together and when the dough is cooled, start adding the eggs bit by bit.
Using your wooden spoon mix vigorously until you have a glossy, sticky mess. You may not use all the eggs here.. just add in what you need to make it thick, smooth and glossy.

Spoon little dollops out onto a greased tray and pop into the oven for 10-15 minutes, depending on the size of your dollops. (the cupcake sized ones, only took 10.
Reduce the temperature, without opening the oven door to 170C and bake for a further 10-15 minutes. Remove from the oven, pierce a little whole in the side to release more steam and pop back in the oven for a further 5 minutes.

Allow to cool on a wire rack before filling.


Vanilla Cupcakes (makes 12)


110g of room temperature butter
225g caster sugar
150g self raising flour
125g plain/cream flour
 A half a teaspoon of baking powder
2 large free range  room temperature eggs
2 teaspoons of vanilla extract (I use vanilla bean paste)
125ml of whole, full fat milk.

Preheat your oven to 350F/180C or Gas mark 4. Line a 12 tray cupcake pan with cases.
Cream your butter and sugar until light and fluffy and pale.
Add in an egg, one at a time until the yolks have been incorporated.
Dry whisk or sieve all your flours and the baking powder together.
Add the vanilla to your milk. 
Add half your dry ingredients to the butter/sugar/egg combination and then half the wet. Mix until combined and repeat. Be careful not to over mix the batter here as you want them to stay light and fluffy. Just make sure all the ingredients have been mixed together.
Fill your cases to two thirds full.
Bake for 20 to 25 minutes. You know they are done when the tops are golden, have a slight spring in them when you gently push down or a skewer inserted in the middle comes out clear!
Allow to cool on a wire rack until cold and ready to be used. 


Vanilla Custard

1 vanilla pod
125g sugar
500ml milk
4 egg yolks
45g cornflour

Scrape the seeds out of the vanilla pod and put the pod, plus the seeds in a pot.
Add 50g of sugar and milk and gently heat over a low-medium heat. but do not allow it to boil.
In a separate bowl whisk together the rest of the sugar, the eggs and the corn flour.
When the milk is hot, but not boiling, remove it from the heat and pour 3/4 of it into the egg mix. Whisk it all together and transfer it back into the pot and back onto the heat.
Allow the custard to cook, to become thick and bubbling for about 1 minute.
Remove from the heat and push through a sieve to remove any lumps, into a clean bowl.

Allow to cool before using it as a filling.


Caramel Sauce

Cook 125g butter and 180g of dark brown sugar in a medium non stick pan over a medium heat for two to three minutes, until the butter has melted and the sugar has dissolved.
Whisk in 200ml of double cream and bring the entire thing to a light boil, stirring constantly.

Turn off the heat and allow to stand until it's cooled slightly, stirring often.

Putting it all together...

Fill the profiteroles with your usual filling method, with the vanilla custard and leave to one side. Using a vanilla cupcake, dip the cupcake into the slightly warm caramel sauce and stick on a few of the profiteroles to form the base of your mini-croquembouche. Dip the underside of the next layer of profiteroles and stick to the layer previous, continuing along until you have built a tower.

Drizzle over and extra caramel sauce you see fit and pop into the fridge to harden for about 15 minutes.


And if you got through all that like I got through all that then you my friend are one lucky baker! And you can be smug like me. These little morsels of mmmmm... are sheer luxury. Not for the faint hearted or diabetics among us, but darn-it they are good.

And it was all thanks to Patisserie Week on the Great British Bake Off... A choux bun.. with a twist. Be sure to see what the other Bake Off bloggers got up to this week.. I know Jenny tried Mary's Mokatines and added her own twist. Why not swing by Naomi's blog and check out the linky?

French delights to be had, to be sure.


Link up your recipe of the week

23 September 2015

Sweet Potato Baby Cakes with Caramel Sauce


"What's in them again?" she said. "Do you like them?" I said. "Yeah, they're nice but what's in them?". "Sweet Potato" I said.

"I don't really like them anymore." And the aversion to basically any kind of vegetable in my house continues.

I am one of those people that will try anything. I will try, to try it anyway. If that makes sense.

There are some foodie things that scare me, and I would probably avoid getting myself into the situation where I might have to try said scarey food. But on the whole, I like to try and eat new things. My kids and husband on the other hand, know what they know and like what they like and are very hard to sway. They do eat a variety of foods, don't get me wrong but when it comes to veg.. I am basically out on my own.

And a shame too because these little, baby cakes were delicious.


Sweet Potato Baby Cakes

125g butter
250g sugar
2 large eggs
310g self raising flour
1 tsp baking powder
1 tsp vanilla extract
1/2 tsp ground ginger
1/2 tsp ground cinnamon
450g sweet potato, mashed and cooled (about 2 medium sweet potatoes)
85ml buttermilk

Preheat the oven to 180C/350F or Gas Mark 4.
Beat the butter and the sugar until smooth and add the eggs one at a time until fully blended.
Combine the flour and and baking powder and spices and then add half the flour mixture to the sugar/butter mixture.
Add the vanilla, sweet potato and buttermilk and mix until completely blended together.
Add the rest of flour and mix until smooth.
Spray a 12 hole muffin tin with quick release spray and dust with flour. (or rub the sides with butter and again, dust with flour).
Fill the muffin pan to two-thirds full and bake for 20 minutes.
Allow to cool in the tins for 5 minutes and top each of the warm cakes with caramel sauce and crushed pecans.


Caramel Sauce

Cook 125g butter and 180g of light brown sugar in a medium non stick pan over a medium heat for two to three minutes, until the butter has melted and the sugar has dissolved. Whisk in a cup of double cream and bring the entire thing to a light boil. stirring constantly.

Turn off the heat and allow to stand on the cooker top until it's cooled slightly, stirring often.


Swing by and check out what the other CakeSlice Bakers picked for their September option.

There's only one month left with our book, The Southern Cake Book, I have thoroughly enjoyed it! Make sure you pop by next month.. or before that! I would love if you popped by often.. It's a free choice month so it'll be excellent to see they different bakers pick out their favourite bakes!


Copyright © Procrastibake | Theme by Neat Design Corner |