16 August 2015

Sugar Cookie Fairy Bread


In our house we have a fairy door and behind that fairy door lives a little fairy called Amy. We don't know what kind of fairy she is, how she came about to pick her spot at the end of our stairs, but her door is there and we say hello to her when we pass. 

Amy, loves baking. We just know she does so when we knew this week was biscuits on the Bake Off, we knew exactly what we were making. 

We reckon she's friends with or works with the tooth fairy. Works all night long collecting teeth and then needs to sleep during the day. That's why, when we knock, she doesn't come to the door. 

We always let Amy know when we make fairy bread. We know it's her favourite because when we have left some small bits out for her to eat. They are always gone, lickety split!


Sugar Cookie- (Minus the hundreds and thousands this is your base sugar cookie recipe)

225g soft salted butter
225g plain flour
125g cornflour
85g caster sugar

Couple handfuls of hundreds and thousands, or to your taste.

Preheat the oven to 150C/ 300F or gas mark 2.
Dry whisk the flour, cornflour, salt, sugar and hundreds and thousands until fully mixed.
Work in the butter a little a t a time until it forms a dough ball.
On a piece of floured parchment, roll out the dough and cut out 12 cookies.
Place on a lined baking sheet and sprinkle the extra caster sugar over the top of each cookie.
Bake for 40-45 minutes until firm and just starting to colour.

Allow to cool on tray for 5 minutes then transfer to a wire rack


Linking these magical little treats up with all the bloggers and Jenny of MummyMishaps of the Great British Bake Off Bloggers 2015!

Andrea from the lovely blog All You Need is Love and Cake is our fine host this week, so why not pop on over and see what all the other bloggers made...


13 August 2015

Chocolate Macaron


These take ages. Genuinely. They take up a good chunk of your time. And I'm just being honest here, there's gonna be no beating around the bush on this blog.

Start to finish we are talking about two and half hours! So if you have anything better to be doing, these are not the bake to start. If however, you want to stop and start, go out and do the shopping, get the kids fed. Make a jigsaw. Come back in and bake again. These little spherical sandwiches of sweet something something or other, are just the ticket.

Macaron; MAH-CAH-RON (not to be confused with MacarOOOOOn) are these little bites of heaven straight from the recipe books of the French Baking God's. They are a pain in the bum to make. But damnit, when you get them right, they are so worth it.

And by get them right I mean, fold and fold and fold that mixture until your arm is going to fall off but that ribbon is set. And then you wait. And you let them dry. For aaaaaggggeeeesss...

You. Let. Them. Dry.

That's the deal breaker. The better the skin on top pre-bake, the nicer the feet and the better the shell you have. Patience is definitely the key here. Hence the go out/do the shopping/feed the kids/walk the dog suggestions. 


Macaron Shells
This recipe doubles up nicely. 
I have never tripled it because holy moly that makes a lot of macarons!

4 aged egg whites (and by aged I mean crack the eggs, leave them covered over in a bowl on your counter over night- up to 24 hours.)
100g caster sugar
150g ground almonds
280g icing sugar
3 tbsp cocoa powder

You need to start with a clean, grease free mixing bowl and a mixer. (I use the silver bowl and whisk off my stand mixer but, a hand mixer will do perfectly if that’s what you have!)

On a high speed, whip your egg whites until soft peaks form. Continue whipping the egg whites on a high speed and start pouring the caster sugar into the mixing bowl. I start off with a slow and steady stream and stop after 1/3 has gone in. I let it whip for a while and start again, adding another 1/3 and then stopping pouring sugar. Repeat for the third batch. 

Continue whipping for a further 3-4 minutes until your egg whites form a thick and glossy stiff peaked meringue. (Like the picture above.. hand shot!)


Sieve together the icing sugar and ground almonds into a large bowl and discard any large lumps or bumps you found were too big to go through the sieve. Sieve in the 3 tablespoons of cocoa powder and then sieve the entire dry mix for a second time to make sure it is completely lump free and airy.

Taking a spatula, fold the egg whites into the almond, dry mixture. Your aim here is to squash out any air in the meringue. You can be rough with your folds, just make sure to keep folding through, making sure all the dry mix has been incorporated into the meringue.

You’re going for, what the internet describes as, a “thick ribbon” consistency. Essentially that means the mix almost falls back on itself in around 10 seconds. (Ribbons... Meh! just try get it to match the picture above!!)


I use a macaron silicone mat as a guide, under my parchment paper to pipe my macaron shells to size.

You can print off macaron templates which are very helpful in giving you a good reference for size when you are piping out macaron. Line a few baking trays with parchment, and using your template, or not, pipe the rounds onto the tray. Keep going until you use all the mix- this recipe yields about 28-30 macrons shells. Giving you 14/15 whole macarons.

Holding your tray about a foot off above the counter top or table you are working it... drop it! Drop it likes it hot. Drop that tray like you hate it. 

Repeat this procedure a few times to pop any air bubbles left in your shells and allow the circles to settle. 

Now the hard part. Leave the shells to rest so that they form a skin and have become dry enough on the outside that you can lightly touch them.  This process could take up to an hour. (TIP: Leave them in a warm part of your house, like the windowsill where the sun is shining in.. they’ll be dry in no time!)


Preheat your oven to 130’. Once the macarons are ready for the oven,  pop them in for 8 minutes. After the 8 minutes, insert a wooden spoon into the oven door to keep it a little bit open. Continue baking for another 4-6 minutes until the top of the shell is crisp and if you wiggled it, gently, from side to side it should be one piece!

Remove from the oven onto a cooling tray and cool completely before filling. Continue baking whatever other shells are left in the same way. 


Match up your macaron shells so that like sized and shaped are together. Fill the shells on one side, using your favourite buttercream or filling and sandwich together. 

I filled my with a rich Chocolate Buttercream. The perfect chocoholics treat. 

Chocolate Buttercream Frosting:

225g soft, super soft unsalted butter
500g sifted icing sugar
3 tablespoons of cocoa powder or chocolate ganache- whatever you have handy!

Beat the butter with the paddle attachment on high until it is very soft and pale. I find that if you give the butter a couple of seconds in the microwave, to when it's almost starting to melt, before you beat it, you end up with the lightest and fluffiest of frosting. 
Add in the icing sugar a few cups at a time. (TIP: alternating with a tablespoon of milk if you think the frosting is too dry.)
Mix the holy moly out of it until light and fluffy.
Decorate in one thick swirl when your macarons have cooled.

Lick the bowl clean. 


This is how I make them. They work out almost all the time.

I know everyone makes them differently but this is what works for me! Let me know if you try them, have any tips yourself or would like to see me make anything else.. any excuse to procrastibake!


09 August 2015

Frosted Walnut Cake


Mary Berry has some questions to answer. Like, what was she thinking... ??

Now I don't want to put you off this bake or colour your opinion of "boiled icing", but let's call a spade a spade.

It sucked.

Or maybe I sucked at making it. But I followed her directions to the letter, and it just didn't work out. I am assuming it was to be like Martha's 7 minute frosting but it just never got there. I assume it was supposed to be soft and fluffy and marshmallow gooey. But it just wasn't.

The sugar ration I am thinking was just way too high. There wasn't enough liquid for it. And I kept beating, wishful thinking willing it to work but...

But it didn't.

It brought me back to my own days on the Bake Off where I look like a deer caught in headlights, expecting something to work and it just going... nope, nope, nope, not today!


The walnut cake, while wonderfully nutty, light and moist was an overall disappointing experience. The "boiled icing" outer shell, because lets face it, that's what it turned out like, was just awful. I should have just left the cake alone. It's a great recipe. Soft and fluffy, packed with yummy walnuts. 

I should have went with my gut when it wasn't working out and dumped it. A rich coffee buttercream would have set this cake over the top. But nooooo... I had to stay on form. Pedantic or what like!?

I don't have to do what Bake Off judges tell me anymore.. I am a big girl baker and can make my own decisions now!


The following recipe is an adaptation of  Mary Berry's Frosted Walnut Cake, the technical challenge on Episode One of the Great British Bake Off 2015. 

The Sponges:
225g self-raising flour
1 tsp baking powder
100g walnuts, chopped
225g softened butter
225g caster sugar
4 large free-range eggs 


Preheat the oven to 160C/Gas 3. Grease three 8inch cake tins and line the base of each tin with baking paper.
Pop your walnuts into the oven for 5 minutes to toast up and bring out that super nutty flavour.
Mix the flour, baking powder and walnuts together in a bowl. 
In a separate bowl, cream the butter and sugar together until pale and fluffy. Beat in an egg a little at a time. Wait until the yolk of the first egg is gone before adding the next.
Fold in the flour mixture using a large metal spoon until fully combined. 
Divide the mixture equally between the 3 tins.


The Caramelised Walnuts:
100g caster sugar
2 tablespoons of water
10 walnut halves

Put the sugar and 2 tablespoons water into a pan and heat over a low heat until the sugar begins to melt. 
Increase the heat and cook the caramel to a dark golden colour. 
Remove the pan from the heat, swirl the walnuts halves in the caramel to coat them. 
Transfer the walnut halves to a silicon sheet and leave to set.


The Vanilla Buttercream: (use your favourite recipe)

Spread half of the buttercream over one of the cooled sponges and place the second sponge on top. Spread the remaining buttercream over the second sponge and top with the third sponge.

(TIP: Do not go all the way to the edges on the cake. When I put on my boiled icing, any buttercream that had ran to the edges melted and became part of the icing, leaving a nice yellow ring in my snow white boiled icing!!)


Stupid hot, boiled icing.


The Boiled Icing: but I really don't know why you would bother!

2 large egg whites
4 tablespoons of water
350g caster sugar
¼ tsp cream of tartar

Put the egg whites, sugar, 4 tablespoons water and cream of tartar into a heatproof bowl over a pan of hot water and whisk for 8-10 minutes until thick.
Working quickly once you take it off the heat, because this icing sets fast, cover the top and sides of the cake.
Leave to set in a cool place, but not in the fridge. 
Decorate with the caramelised walnuts.


If you are looking for cake and bakes that did work out.. along with a brilliant array of choices and recipes, why not pop on over to the amazing Jenny from Mummy Mishaps! There are a host of amazing bloggers baking along to this years Great British Bake Off.

Mummy Mishaps

07 August 2015

Rocky Road (no churn) Ice Cream


Chocolate ice cream is one of those things that makes me giddy. Like actually giddy. Like little girl, annoying her parents after one too many chocolate ice creams, giddy. 

I know you might think that's weird, or sad, but let me tell you... I'm a girl of very simple (though sometimes intricate and pretentious) taste. And chocolate ice cream is one of those tastes. It's pure, basic simplicity excites me.

Now, I figured that the best chocolate ice cream came from a carton in the freezer at the supermarket. That without an ice cream maker it would just taste like... meh... nothing great! But I was wrong.

Wrong.

So very wrong.

There is nothing easier than making home made chocolate ice cream. If you have all the ingredients in your cupboard, an electric mixer and 15 minutes to kill, then you could have a tub of chocolate ice cream in the freezer and head on off about your day!


First I need you to ask yourself; do you like chocolate, marshmallow, biscuits, chocolate chips? You do, well then this ice cream is for you. If you don't, you need to reevaluate your life decisions to date (joking!). If you don't, make it for some one who does and just watch their face light up like you have just handed them a unicorn.

It is that good. I know it is. And you will too.


The beauty about this recipe is that it can be customised to your liking.  You like more chocolate chips? Put them in. You like nuts? Put them in. You like peanut butter? Put. It. In. You want to make it a triple chocolate, diabetic coma inducing feast of deliciousness... Go ahead! Add in chocolate fudge sauce like your life depends on it.

Just be sure to give it the freezing time it needs. That's the hard part here. But patience young Padawan, patience. It will be worth all the wait.

So very worth it.

Rocky Road Ice Cream
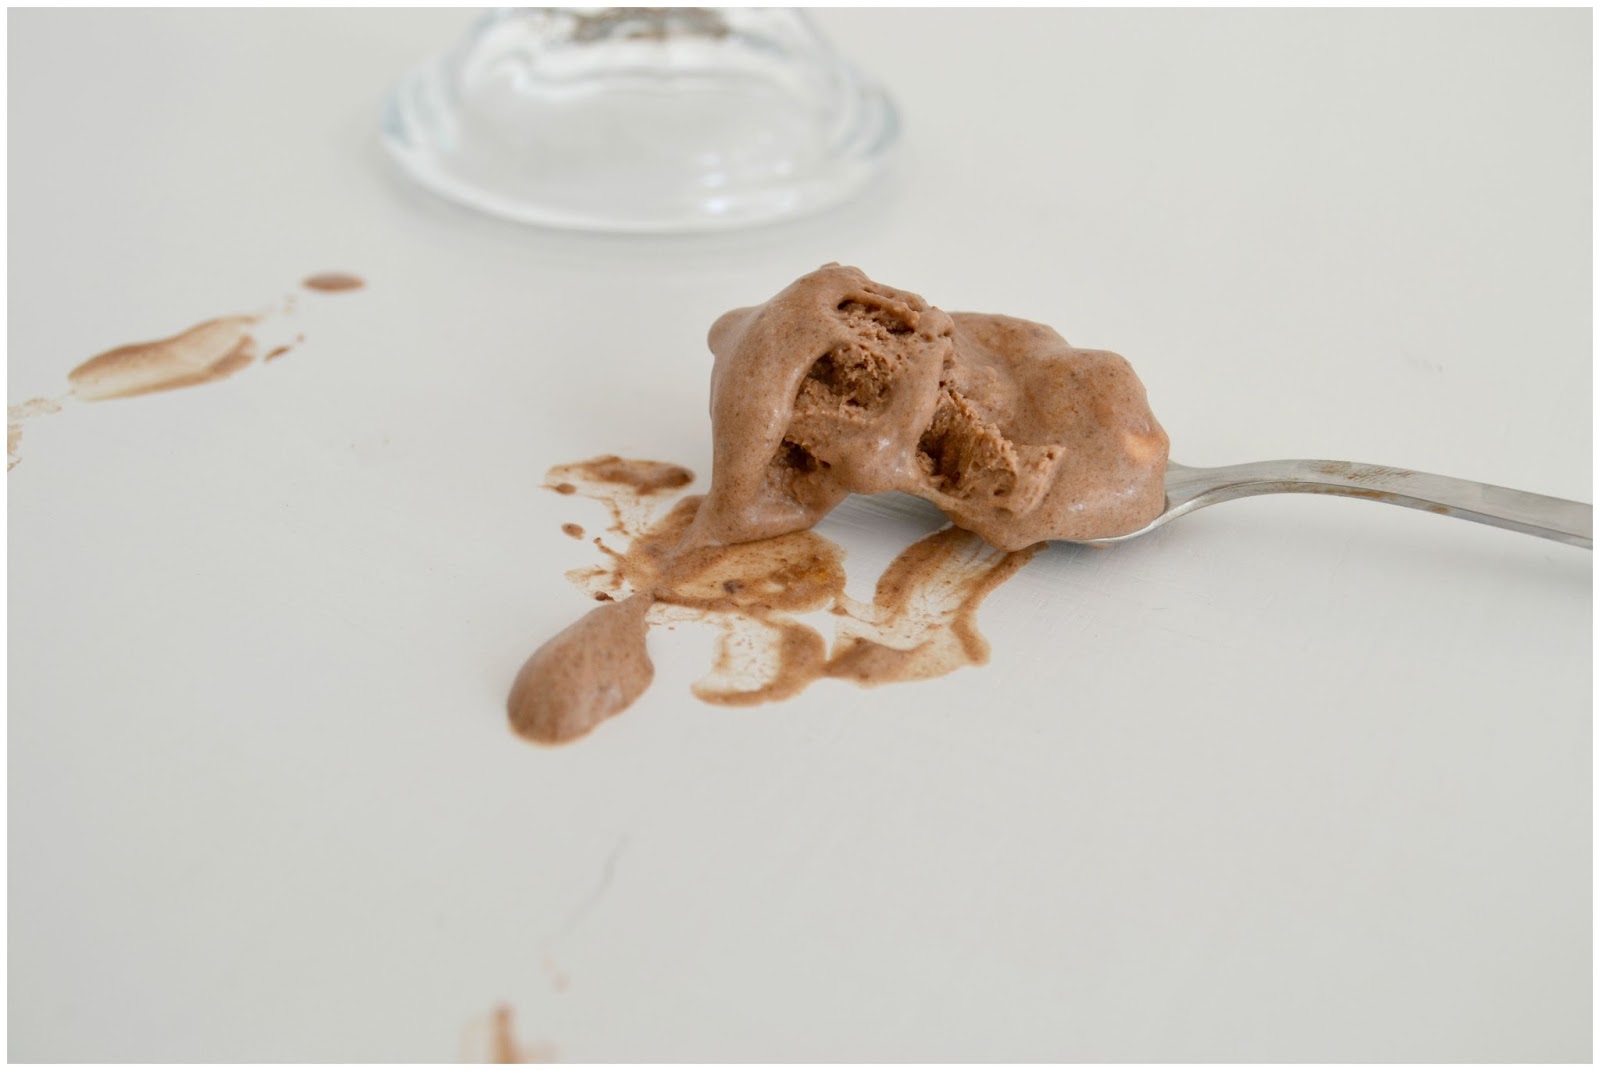
This ice cream melts a little quicker than your traditional churned, custard based ice creams. The air that would normally be circulated in an ice cream machine is created by whipping up the double cream and the custard element is replaced with the condensed milk.  All that you need to take from those last sentences is that it melts, a little quicker, so you have to eat it faster.

(this is your basic chocolate ice cream recipe)
125g dark chocolate
125g milk chocolate
250ml of full fat milk
1 can condensed milk
1 teaspoon vanilla
1 tablespoon coco powder
pinch of salt
500ml of double cream

(add anything else you want)
150g marshmallows
150g crushed biscuits
125g chocolate chips


Break up the chocolate into a heatproof bowl and add the condensed milk.
Heat the full fat milk to just before boiling and pour over the chocolate and condensed milk. Let stand for 5 minutes or so to melt and cool slightly. Then mix through fully,  making sure all the chocolate is melted.

Add in all your extra ingredients and mix through again.


Whip the double cream with the vanilla, so that when you lift out the beater it stands all on it's own.


Fold the chocolate mix in with the whipped cream until fully incorporated and transfer to the tub, tin or whatever you are going to use to freeze it in (Tip: not glass.. don't be a silly goose). I used my 2lb loaf tin and covered it with a bit of cling film, to stop ice particles forming. You could use any tin, plastic box or tub you have.

Pop the ice cream in the freezer for at least 8 hours, but if you can wait, overnight is best. When you do take it out, allow it to sit on the counter for about 5 minutes to soften. It'll make it easier to scoop out.

All ready for the freezer!


Once you're done, revel in it's glory. It's chocolately, creamy, marshmallowey, crunchy glory. Enjoy, savor and join the club where you'll swear that you will never buy store bought ice cream again. 

We are working on our t-shirts.


Copyright © Procrastibake | Theme by Neat Design Corner |