18 December 2016

Christmas Spiced Cookies


I hope everyone is having a great weekend!

It's been getting a lot colder these past few days so with that in mind I am going to post of few ideas over the next few days to help you stay warm, treat your friends to some goodies and help get those festive juices flowing. Christmas notions be buzzing all up in here!!

It's  my favourite time of year, now that the cookies have started! And with all the hustle and bustle, it's never too late to try bake something simple for the festive season. Especailly with kids, so simple... These cookies might be just your thing. Even if you don't glaze them with the icing, they are a lovely, buttery soft, melt in your mouth morsel of mmmmm.. This week is always my busiest week as I finalise gifts and edibles for friends and family. And I am so glad I made these to nibble on as I keep going...


I hope you'll enjoy them too!


Christmas Spiced Cookie

225g soft salted butter
225g plain flour
125g cornflour
85g dark brown sugar

1/2 tsp cinnamon
1/2 tsp ginger
1/4 tsp nutmeg
1/4 tsp mixed spiced

Preheat the oven to 150C/ 300F or gas mark 2.
Dry whisk the flour, cornflour, salt, sugar and spices until fully mixed.
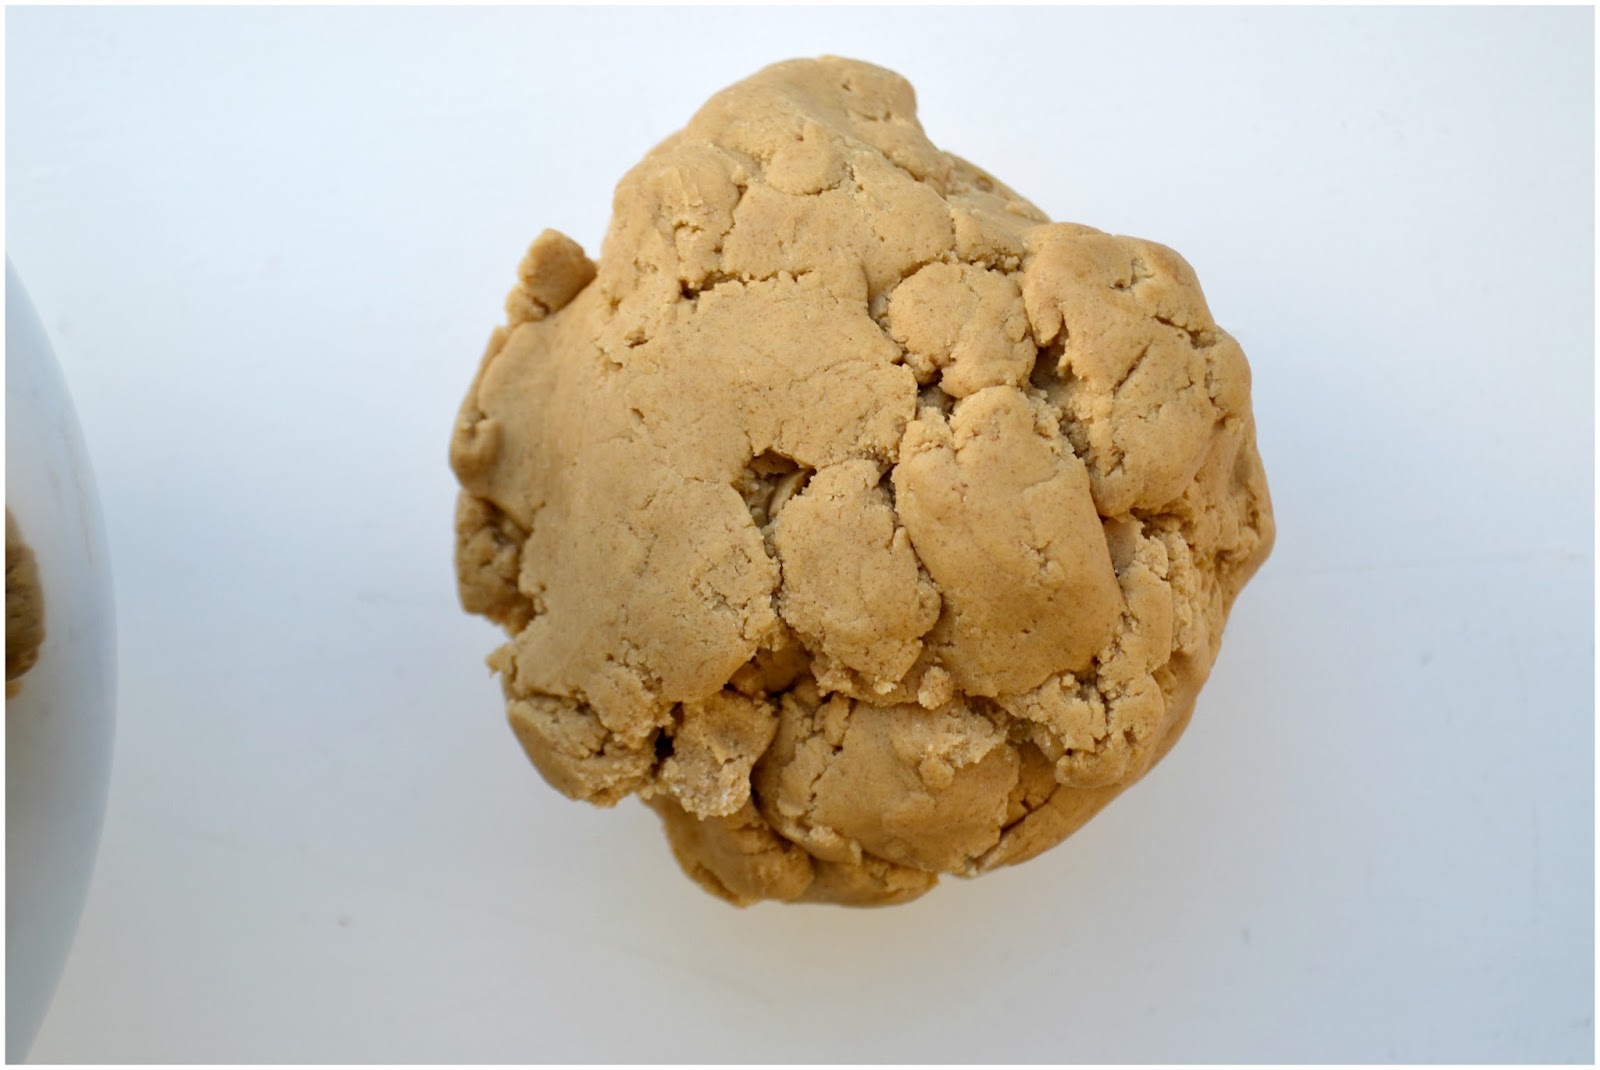
Work in the butter a little at a time until it forms bredacrumbs and you can squash it into a dough ball.
On a floured surface, roll out the dough and cut out as many cookies as your cutter will let you (I get about 18)
Place each cookie, a few cms apart on a lined baking sheet.
Bake for 20-25 minutes until firm and just starting to colour.

Allow to cool on tray for 10 minutes then transfer to a wire rack to cool completely before glazing. 


The Icing Glaze - make two batches

250g icing sugar
1 tbsp milk- slowly added using a teaspoon at a time
1 tbsp light corn syrup
1 -3 drops lemon juice (optional)

Sift the icing sugar to remove any lumps. This is important now as lumps are hard to get rid of after.
Add all ingredients to bowl and mix until combined.
Add more milk as needed.. see below for tips.

  • You need to start with a thick icing for outlining your cookies, so add LESS milk. Just add a teaspoon at a time. It should flow very slowly back together if you run a spoon through the bottom of the bowl
  • Once you have outlined your cookies and need to fill in or ‘flood’ your cookies, so suing the same recipe, add MORE milk (as much as you would need) to make your icing glaze really runny.
  • If you want to colour your icing and are using liquid food colouring, use LESS milk. If you are using a gel food colouring, your milk can stay the same.


Using a piping bag and narrow tip, outline your cookies with the thicker glaze. leave them to dry a little while you make the other batch of glaze.

Flood your cookies, by squirting in some of the runnier icing and using a toothpick to help you make it all the way to the corner. Let them dry before stacking and gifting.

If you have leftover thicker icing and once the cookies have dried out, you could squeeze over some extra in a haphazard fashion like like I did for extra decoration. Again, leave to dry out before stacking and gifting.


 So will you give them a try? I think if you are looking for something festive.. and fun and more importantly EASY.. these are the ones for you!

Have a great week folks!

11 December 2016

Double Chocolate, Mint Chip Baked Donuts


I shared these over on my Instagram and they got such a huge reaction that I said I would show you how to do it also... You know, because you guys have nothing else to be doing, two weeks to Christmas!!

Anyway I am in full swing with making and baking gifts for family and friends and while these dounts were supposed to be shared with friends, they never actually made it there.. ooops.. insert embarrassed emoji here.. but were enjoyed by friends who happened to call.

Don't you love that feeling when you have baked and the house is really tidy and super Christmassy. And you get to thinking, now... NOW is the time for impromptu callers who will think I have it all sorted and my life together! But they never do call that day, do they?

They call the day after, with day after donuts and the house not as neat as before. But I am not fussing.. I had donuts and they were happy. And friends called over and that made me even happier than having the house neat and dounts baked put together!!


Chocolate Donuts- 
helps if you have a donut pan…

225g caster sugar
2 eggs
275g self raising flour
1 teaspoon baking powder
100g coco powder
50ml hot coffee (I used decaf for the kids)
100g melted chocolate (at least 50%)
125ml buttermilk
125ml vegetable oil
1 teaspoon vanilla paste

Preheat your oven to 180C/350F or Gas Mark 4 and spray two 6 hole donut pans with bake release, leave to one side.

Beat the eggs with the sugar until fully incorporated and looking light and fluffy.
Add the vanilla.
Sift your flour, coco powder and baking powder together and leave to one side.
Melt the chocolate in with the hot coffee. Stir until smooth.
Add one third of your dry ingredients to the eggs and sugar and combine slowly.
Add the milk.
Add one third of your dry mix again, mixing until just incorporated.
Add the oil.
Add the coffee and chocolate and mix again, slowly until just combined.
Fold in the remaining one third of the dry ingredients by hand using a rubber spatula. This way you ensure it stays light and fluffy and you don't over mix the batter.

Scoop the mix into a zip lock or frosting bag, snip off the end and squeeze the batter into the rings of the donut pan. Fill to about two thirds full.

Bake for 10-12 minutes or until a skewer inserted inside comes out clean. Leave to cool in the pans on a wire rack for about 10 minutes. Remove  from pans and allow to cool fully before dipping.


Chocolate Dipping Sauce

100ml (thick) double cream
150g dark chocolate (at least 60%)

Break the chocolate up and put it in a heatproof bowl. 
Heat the cream in a pot on the hob, but do not let it boil… rather come to just before the boil. A slight simmer, with small bubbles breaking on the top.  
Pour the cream over the chocolate and cover the bowl with a plate to retain the heat. 
Allow the warm cream to melt the chocolate for about 5 minutes and then stir it all together. 
Allow it to cool down, slightly and when your donuts have sufficiently cooled… dip the neat rounded side in to fully coat that side of the donut. 

You will need to lick your fingers. 


Sprinkle the tops with Andes Mints baking chips or your choice of chip or sprinkle and ENJOY. 


Tell me what you are making for family and friends... I love to hear how others incorporate homemade into their Christmas traditions! I am sharing more ideas etc over on Instagram... why not join in the fun and follow!?

Until next time folks... Have a great week! X

04 December 2016

Cranberry and White Chocolate Cookie


It's got to be short and sweet today lovely readers.. There's a whole lot of Christmas baking and decorating to be done and I have to say I am in full festive swing. I have my Christmas fruit cakes baked and topped up..  I will share that post with you shortly, but today I just wanted to show something super simple to bake.  If you were so inclined to bake something for friends or family this winter.

I am a really big fan of homemade, in case you hadn't already guessed and I just love to give cookies and macaron out as gifts. They are so cute wrapped up in bags with bows and I genuinely believe people like a break from the aul' box of Victoria biscuits and tubs of sweets. I always make up a couple of batches, tie a few bags together and send them around the neighborhood. These are perfect for folk you want to knowledge this festive season, without spending a fortune!

The cookies below are crisp on the outside but soft and chewy on the inside. The cranberry offers a nice tart taste, to balance the sweetness of the white chocolate and sugars. They make a good Christmas cookie. Perfect as gifts and sharing.


Cranberry and White Chocolate Cookie 
makes 36 cookies  approx 

115g soft, salted butter
95g 100% vegetable fat or shortening
200g white granulated sugar
220g soft brown sugar
2 large free range eggs
2 tsp vanilla
425g self raising flour
100g porridge oats (optional)
1/4 tsp baking powder
1/4 tsp bicarbonate of soda
250g of white chocolate chips
150g dried cranberry bits

Preheat the oven to 180C/350F or Gas mark 4. Line your cookie sheets with some parchment.

Beat the sugars, butter and shortening together until it looks like mashed up breadcrumbs.
Add both the eggs and then the vanilla and mix until fully incorporated.
Dry whisk the flour, baking powder and bicarb of soda ( and oats if using) together and then add to the wet mix. Mix until just together.

Add the chocolate chips and cranberry pieces and mix until it's a soft dough consistency. This mix is not sticky, but more like really soft playdoh.

Using a tablespoon, scoop out the dough and roll them into golf ball sized balls. So.. being the way I am... I weigh these out to be about 40g balls (give or take a gram on either side)... If you think I'm going to pick off a gram or add a gram, you damn near lost yo' mind!

Space them out on your trays as they spread...

Cook for 10-12 minutes, depending on how crisp you want them to be. 10 in my oven is crispy on the outside and soft and chewy in the inside. Yum!

Try leave them on the sheet to cool for at least 15 minutes. Which, let's face it, never happens.. Just be careful when they come out. They are hot.


Let me know what kinds of things you are baking or making for your family and friends this year.. Or is there anything you would like to see here, anything I can help you out with?

 Let me know in the comments below, or send me an email! I would love to connect! Enjoy the beginning of the festivities my dears!

Tis' the season and all.

27 November 2016

Spiced Maple Pecan Cupcakes


Each month for the past however long I have been honored to bake with some of the best ladies and gent in blogland… Regulars to here will know the drill around this time each month; where The Cake Slice Bakers and I chose a cake and bake it, comparing notes and annotations, joys and downfalls. 

We are a group of bake loving maestros who choose a book and bake cakes from said book.  This month is no exception, only our New Year begins. November marks the start of a new baking venture and we get to reveal our new book… World Class Cakes by Roger Pizey.

This month I actually made two of the same recipe... One in loaf form, which was rapidly devoured and therefore not available for photo shooting but the other in cupcake! Which worked out so lovely.. I am so pleased with it. And judging by some of the other bakers choices, makes a really great cake too! 

I added a dash of spice to the cupcake version, as I felt the loaf was a little lacklustre.. The addition of the spice was great and accented the maple and pecan flavours perfectly. A great start to the baking year I will say!


Spiced Maple Pecan Cupcake
adapted from World Class Cakes 

225g self-raising flour
110g caster sugar
120g light brown sugar
1tsp baking powder
1tsp pumpkin spice
280ml buttermilk
100g unsalted butter, melted
85ml maple syrup
1/2 tsp vanilla extract
85g toasted, chopped Pecans

Pre-heat the oven to 180C/ 350F or gas mark 4 and line a 12 (or two 6) hole cupcake pan with cupcake liners.
In a medium bowl mix together the flour, sugars, and baking powder.
In a separate jug, whisk together the buttermilk, melted butter, maple syrup and vanilla. Add this into the dry ingredients and mix until just combined, don’t over mix. Fold through the pecans and scoop out even spoons to fill the cupcake liners to 2/3 full.

Bake for 18-20 minutes and remove form the oven.  Leave the cupcakes in the pan for 10 minutes then remove each one and leave to cool on a wire rack. Frost when cold.


Maple Cream Cheese Frosting

260g icing sugar
80g unsalted butter, softened
40g cream cheese
2tbs maple syrup

Beat together the butter, cream cheese and maple syrup. On a low speed add in the icing sugar, a small bit at a time. 
Mix on medium speed until it comes together. (You could add a little milk if you’ve reached a too stiff consistency.) Keep on mixing until soft and fluffy.

Using a plain piping tip, pipe rounds onto each cupcake and dust lightly in pumpkin spice.  


Pretty good looking right.. and they tasted just as good! 

Happy to be back baking with this group for another year!


13 November 2016

Vanilla, Pecan Pie Cheesecake


It seems oddly fast how quickly November is progressing. Not that I have an huge problem with this, more that I am not the biggest fan of November itself. Once Champs birthday is over, we kind of have a nothing month.. Just a countdown until I can start to decorate for Christmas. 

The Americans, in all their ruffled, presidential upheaval have Thanksgiving in the middle; to break up the monotony. We don't celebrate this obviously, but I do like the desserts that come out around this time. 

Imagine I have never made a pecan pie? And I still haven't considering I made this up into a cheesecake instead. But it seems so alien, that one of my favourite nuts and my penchant for pastry have yet to meet in my kitchen. They will one day I'm sure. Just not today.

Today is a baked vanilla cheesecake, soft, fluffy and oh so creamy. Topped with a dark caramel, nutty goo, that hints of cinnamon and vanilla. Perfect for the Thanksgiving table. Perfect to share with friends. Perfect to keep to yourself... because who needs friends anyway...

You've got cheesecake. 

Vanilla Baked Cheesecake

The Crust
200g  digestive biscuits
80g toasted pecans
85g butter, melted

Preheat your oven to 190C/375F/ Gas Mark 5.
In a medium bowl of a food processor, crush together the biscuits and pecans.
Melt the butter and mix together the crumbs.
Press into a 9 or 10 inch round spring form tin.
Bake for 10 minutes until the crumbs have set and turned a dark golden colour.
Allow to cool fully.


The Vanilla Filling
Three (3) 225g packets of full fat cream cheese
60ml of double cream
2tbsps of flour
pinch of salt
200g caster sugar
100g soft light brown sugar
4 large eggs
1tsp of vanilla extract

Reduce the oven to 150C/300F/Gas Mark 2.
Beat the cream cheese, double cream, flour and salt until smooth and fluffy.
Add the sugar and continue until smooth.
Add the vanilla, then the eggs one at a time, mixing in the next after the last yolk has been incorporated.
Beat all the ingredients until smooth, ensuring there are no lumps or bumps.
Pour into the cooled crust.

Sit the spring form tin in a large baking sheet, that has sides to allow you to fill the baking sheet with water. Fill your baking sheet with boiling hot water, about 1/3 the way up the cheesecake tins wall.
Put the whole lot in the oven for 50-55 minutes. Until the top has turned golden and when you move it, the center jiggles a little bit.

Crack open the oven after the time allotted with a wooden spoon. Turn the oven off and allow the cheesecake to cool fully in the oven.

Remove from the oven and refrigerate overnight (or for at least 4 hours).

When you are ready to make the topping, remove the cheesecake from the fridge and the pan, if you have not already done so.

The Pecan Pie Topping
180g soft brown sugar
45ml double cream
30ml maple syrup (or honey or corn syrup)
1/2 tsp cinnamon
1 tsp vanilla
150g toasted chopped pecans

Add all the ingredients EXCEPT the pecans to a small pot. Over a medium heat, bring to a boil. Reduce the heat and allow to simmer for about 5 minutes, stirring often. Remove from the heat, stir through the pecans and allow to cool. 


Putting it altogether...
Once the pecan topping has cooled, scrap out the bowl on top of the cheesecake and spread to the edges. I kept mine slightly away from the edge to allow for some whipped cream swirls.. The cheesecake can be served at this stage, or kept up to 3 days in an airtight container in the fridge.

You wont get to three days. You'll have it eaten.

I photographed the cheesecake after some time in the fridge. At room temperature the topping is much gooier! YUM!


Linking up here and here with #bakeoftheweek... A new feature for me, but I do love to link up with other bakers and foodies. So much inspiration out there... You might find something you like too!


Casa Costello

02 November 2016

Death By Chocolate


The blog has been quiet. A rest was needed. Unexpected news does that to you sometimes and puts things in perspective. But life moves along in the background, and cakes needed to be made, they just don't have the same good aul' gusto I am used to giving them.

The final of The Great British Bake Off closed last week, with a theme "fit for a queen". Having Halloween smack bang in the middle of my baking, the theme took a sinister turn. Not that I wish death to any queen, more, if this was a way to go.. I think it would be fitting of royalty!

An insanely dark chocolate cake, soft, and dense. Smothered in a rich chocolate frosting, bitter yet sweet, topped with a molten meringue crown. Crisp on the outside, with a soft chew to the inside. The cake is heavy, luxurious and sinfully delicious. I hope it fits the brief for Jenny and all the other bakers in the Bloggers Bake Off. My final bake for the last BBC broadcast of the Bake Off. 


Dark Chocolate Cake
makes two 8 inch rounds or three 6' rounds like I have made here...

100g of good dark chocolate (as dark as you can handle)
225g of caster sugar
75g coco powder
225g self raising flour
1 teaspoon salt
2 teaspoons baking powder
2 large eggs
50ml hot and strong coffee (Make one for yourself too!!)
125ml of vegetable oil
125ml of buttermilk
1 tsp vanilla extract

Preheat your oven to 180C/350F or Gas Mark 4. Grease and line two 8' pans with parchment, leave to one side.
Melt the chocolate in the hot coffee. When melted, add the vanilla.
Cream the sugar and the eggs until light an fluffy. They will increase in size.
Dry mix all your dry ingredients together. 
Slowly add them to the sugar/egg combination.
Add the buttermilk and mix.
Add the oil and mix.
Finally fold in the coffee/chocolate combination.

The mix is thick but runny so you could just pour it into the prepared pans until evenly.

Bake for 20-25 minutes until the tops have raised slightly, or a skewer inserted onto the middle comes out clear. Allow to cool in the pan for about 10 minutes before removing from the pan onto a wire tray. Allow to cool fully before frosting.

Make the meringue.


Chocolate Meringue Crown

4 egg whites
1/2 teaspoon cornflour
1/2 teaspoon vinegar
225g caster sugar
60g coco powder

Preheat the oven to 110 C, 230 F or 1/2 a gas mark.
Separate your egg whites from their yolks and put into a clean, dry bowl.
Whisk together until doubled in volume. Having the egg whites at room temperature will help with adding volume.
Add the sugar a tablespoon full at a time. Wait until the previous batch has been fully incorporated and has made the egg whites shiny and sticky before adding your next batch.
At the end, fold in your cornflour and flour, then fold through the coco powder. Spoon out onto a lined baking 8' baking pan.

Make a hole in the middle, using the back of your spoon.
Bake on the bottom rack for one hour. Switching off the oven after the hour, and allow the meringue to cool completely in the oven, with the door closed.

Once cooled, carefully remove it from the pan, peel off the parchment and leave on a wore rack until needed.

Make the frosting.


Chocolate Frosting

227g unsalted butter, room temperature
500g icing sugar
80ml whipping cream
2 teaspoons pure vanilla extract
Pinch of salt
60ml sour cream
265g premium dark chocolate, melted

Put all of the ingredients, except the melted chocolate, in a mixer and mix until smooth.

Add the melted chocolate and mix again until smooth. If you feel the frosting is too soft, pop it in the fridge until it thickens (about 15 minutes) but it should be ideal spreading consistency after the second mix! Leave to one side until you are ready to assemble the cake.

Putting it all together... 

Put a smidge of frosting on an 8’ cake board (or you cake plate).
Put the first layer top down on the cake plate, and spread some frosting evenly across the cake layer. Put the second cake layer on top of the first and repeat with another layer of frosting. Put the final cake layer top-down. Cover the cake with a thin layer of frosting to seal in the crumbs (crumb coat) and then pop the whole thing in the fridge to firm up, maybe 30 minutes.
Remove and add thicker layer of frosting on the top, sandwich the meringue crown on top and either serve, or return to the fridge.  


But most importantly.. my baby boy turns four today!! FOUR! I know parents always say where did the time go, but once, just once I would like it to slow down. My boy Champ. is the kindest and most friendliest little guy you will ever meet. He loves his sister, Momma and Dadda with Bella the dog thrown in for good measure. He doesn't eat or even like cake... or cream.. or frosting but loves cookies, macaron shells and helping me in the kitchen.

He is a Lego fanatic and has a jar he is filling with pennies and change so he can take us all to Lego Land! My boy never ceases to amaze me.. his interminable thirst for knowledge and exploration coupled with a highly interactive imagination will take him great places in his life. I am so excited to be part of this journey with him!

Happy 4th birthday my boy... We love you so much.


17 October 2016

Autumn Apple Pie


Tudor week on the Great British Bake Off seems like a distant memory at this stage, it feels that long ago. The plan was to bake a savoury but with limited time in the evenings for dinner, I opted to bake a pie just for me. My style and my flavours.

Using up the last of my apples was the perfect excuse for this pie. Husband had bought me a new food processor, as congratulations on doing so well in my Masters so I was eager to try it out. It was perfect and dare I say it, the best pastry I have ever made! Soooo happy with my new toy.

Anyway... the pie does not fill the brief exactly nor do I know how it fits in with the Tudor theme, but it looks pretty and tasted pretty damn good so I'm going to offer it up as fodder for the linky!

It's also another baking on a budget success with all my ingredients coming from Aldi again. The victuals were delicious!


All Butter Short Crust

***Double the recipe if you want all the leaves on the top***

240g plain flour
50g icing sugar
150g diced cold butter (+ a little extra for greasing)
1 large egg

Preheat your oven to 180C, 350F or gas mark 4.
Put the flour, butter and icing sugar into a food processor and blitz until looks like breadcrumbs.
Crack in the egg and bring together until a soft ball forms.
Wrap in clingfilm, pat down and leave in fridge for 30 mins.
Grease up a 9/10 inch round pie dish.
When it comes out of the fridge, split into two balls, one slightly larger than the other and roll out. 

Pop the larger circle into your pie dish and then if you are so inclined blind bake the pastry case bottom using pastry beads in a pre-heated oven for about 10- 15 minutes. Cut out, using cookie cutters, all the leaf shapes you can with the leftover pastry.  Leave to one side.

Start peeling and slicing your apples.


Apple Pie Mix

3-4 large Cooking apples. 

Skin the apples completely and then just chop them into however you feel... I like to do a rough slice and just keep slicing through the apple until I reach the inner core. Pop them in a bowl adding...

120g brown sugar (I used demerara)
1 tsp pumpkin spice or to taste

Set to one side... Once you have blind baked your pastry case, fill with the apples and top with the remaining pastry or the leaf cut outs.


Bake for about 30-40 minutes, depending on your oven and minding the top doesn't get too brown. Allow to cool slightly on a wire tray upon taking it out of the oven and before removing it form the tin.


So a treat for me, from me to you! Be sure to hop by the linky on Jenny's Blog to see what the other GBBObloggers baked up for Tudor week.

A feast for thine eyes to be sure.


Copyright © Procrastibake | Theme by Neat Design Corner |