Showing posts with label sugar cookie. Show all posts

18 December 2016

Christmas Spiced Cookies


I hope everyone is having a great weekend!

It's been getting a lot colder these past few days so with that in mind I am going to post of few ideas over the next few days to help you stay warm, treat your friends to some goodies and help get those festive juices flowing. Christmas notions be buzzing all up in here!!

It's  my favourite time of year, now that the cookies have started! And with all the hustle and bustle, it's never too late to try bake something simple for the festive season. Especailly with kids, so simple... These cookies might be just your thing. Even if you don't glaze them with the icing, they are a lovely, buttery soft, melt in your mouth morsel of mmmmm.. This week is always my busiest week as I finalise gifts and edibles for friends and family. And I am so glad I made these to nibble on as I keep going...


I hope you'll enjoy them too!

Christmas Spiced Cookie

225g soft salted butter
225g plain flour
125g cornflour
85g dark brown sugar

1/2 tsp cinnamon
1/2 tsp ginger
1/4 tsp nutmeg
1/4 tsp mixed spiced

Preheat the oven to 150C/ 300F or gas mark 2.
Dry whisk the flour, cornflour, salt, sugar and spices until fully mixed.
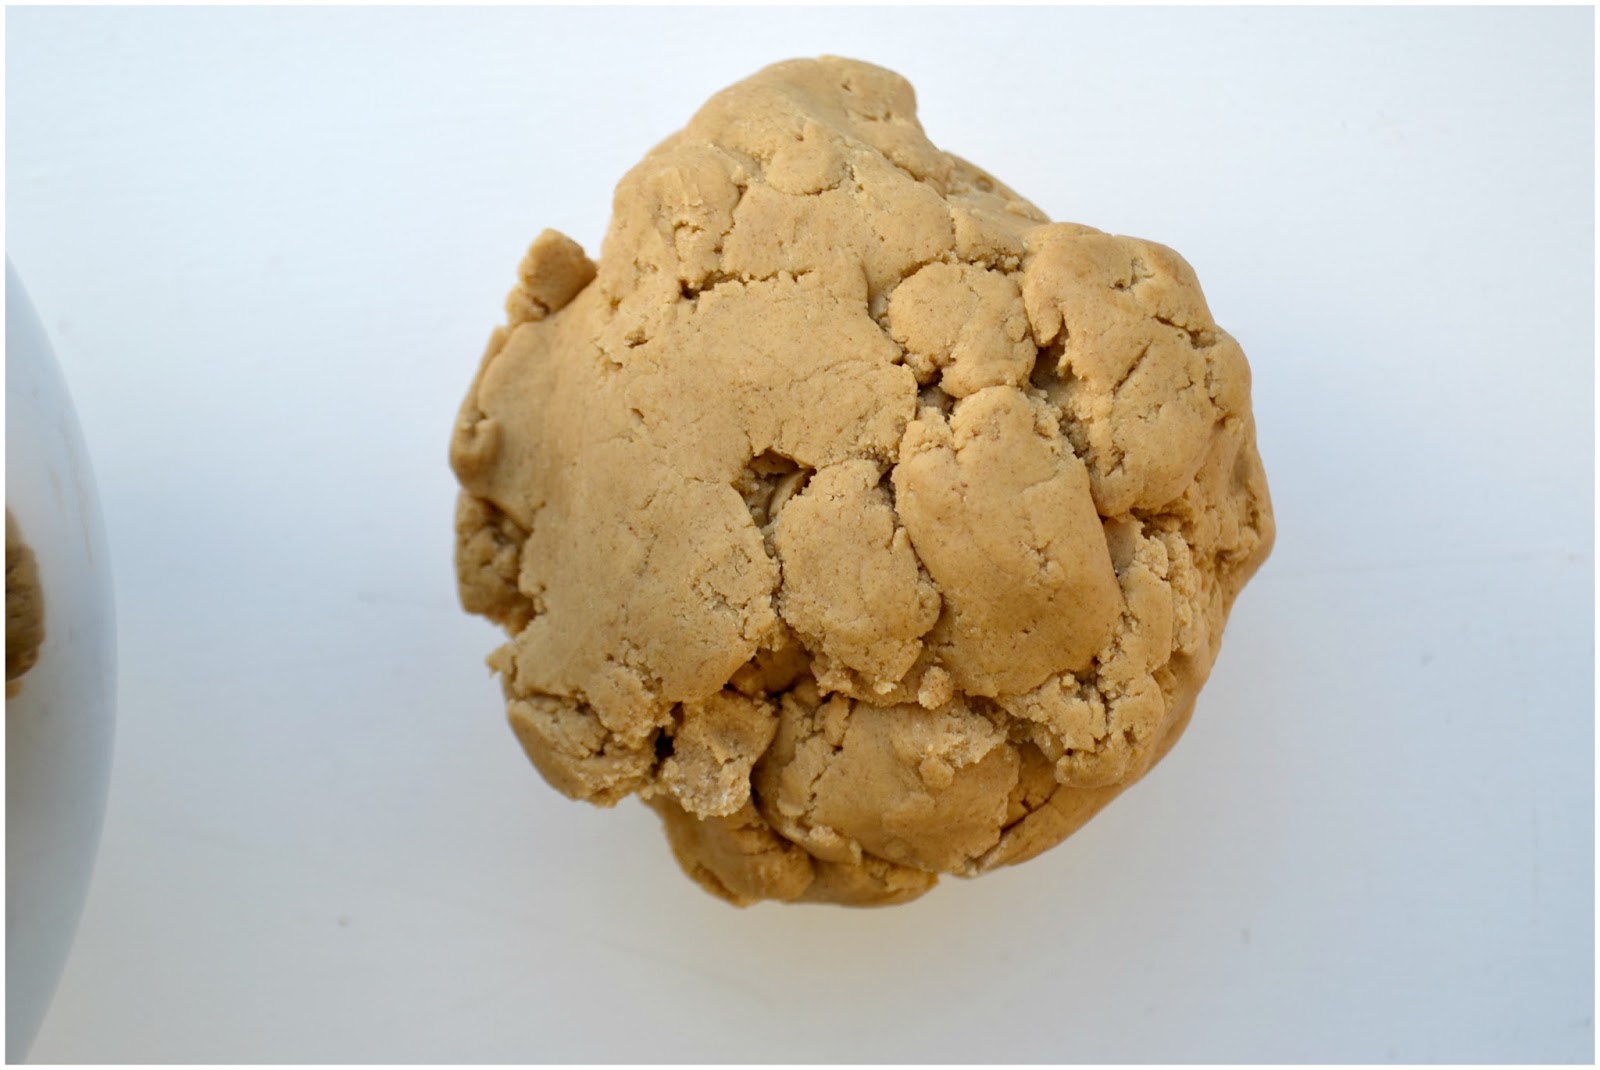
Work in the butter a little at a time until it forms bredacrumbs and you can squash it into a dough ball.
On a floured surface, roll out the dough and cut out as many cookies as your cutter will let you (I get about 18)
Place each cookie, a few cms apart on a lined baking sheet.
Bake for 20-25 minutes until firm and just starting to colour.

Allow to cool on tray for 10 minutes then transfer to a wire rack to cool completely before glazing. 


The Icing Glaze - make two batches

250g icing sugar
1 tbsp milk- slowly added using a teaspoon at a time
1 tbsp light corn syrup
1 -3 drops lemon juice (optional)

Sift the icing sugar to remove any lumps. This is important now as lumps are hard to get rid of after.
Add all ingredients to bowl and mix until combined.
Add more milk as needed.. see below for tips.

  • You need to start with a thick icing for outlining your cookies, so add LESS milk. Just add a teaspoon at a time. It should flow very slowly back together if you run a spoon through the bottom of the bowl
  • Once you have outlined your cookies and need to fill in or ‘flood’ your cookies, so suing the same recipe, add MORE milk (as much as you would need) to make your icing glaze really runny.
  • If you want to colour your icing and are using liquid food colouring, use LESS milk. If you are using a gel food colouring, your milk can stay the same.


Using a piping bag and narrow tip, outline your cookies with the thicker glaze. leave them to dry a little while you make the other batch of glaze.

Flood your cookies, by squirting in some of the runnier icing and using a toothpick to help you make it all the way to the corner. Let them dry before stacking and gifting.

If you have leftover thicker icing and once the cookies have dried out, you could squeeze over some extra in a haphazard fashion like like I did for extra decoration. Again, leave to dry out before stacking and gifting.


 So will you give them a try? I think if you are looking for something festive.. and fun and more importantly EASY.. these are the ones for you!

Have a great week folks!

12 October 2016

Double Chocolate Swiss Roll (Gluten Free)


Where to even start.. last week,this week I have no idea but lets just say this wasn't the first bake I made for dessert week... it was the second. My baking shame of a mousse cake will never grace your screens, nor be spoken about here on after.

This Chocolate Swiss Roll however, yum!! This bad boy was on point! Gluten free too to boot! Now in all truthfulness, I didn't actually get a chance to catch up on Week 7 of the Great British Bake Off, but I know it was a good one from what I read online! I slowly made way through my kitchen and opted to make this cake in honour of last weeks bakes. I missed the linky over at Jenny's and the GBBObloggers bakealong but I didn't want to miss out on baking along entirely.

Hence my late post and my scattered meanderings. It's been a long week... and yes I know it's only Wednesday.


Chocolate Swiss Roll

6 eggs separated
110g caster sugar
170g dark chocolate (above 60%)
3 tbsp soft butter
60ml cold coffee
pinch of salt
1 tsp vanilla
250ml single cream
Chocolate Ganache

Preheat your oven to 180C/350 F or Gas Mark 4. Line and spray/grease a shallow baking tray, swiss roll tin with parchment. Spray the parchment. Leave to one side.

Separate the eggs, white in a mixing bowl, yolks in another.
Put the chocolate, butter and coffee into a microwaveable bowl and melt the contents on a low setting, until fully melted and smooth, being careful not to burn the chocolate (alternatively use the double boiler method on the hob). Add the yolks two at a time and mix well after each addition. Add the vanilla. Leave to one side to cool.
In the whites bowl, whisk to soft peaks and add the sugar in a steady stream. Whisk to stable, but not stiff peaks.
Add about 1/4 of the egg whites to the chocolate mix to loosen it up and transfer this back into the rest of the egg whites. Fold through until just combined.

Pour out into a prepared baking tray, smooth to the corners and cook in your preheated oven for approximately 15 minutes, or until the top of the cake springs back at you when lightly pressed.

Leave to cool on a wire rack.

Make the ganache.


Chocolate Ganache

200g semisweet dark chocolate 
200ml Double Cream

Put the chocolate into a heat resistant bowl.
Heat the cream in a saucepan over a medium heat, stirring occasionally. When the cream begins to simmer, quickly remove from the heat and pour it over the chocolate. Swirl the bowl to ensure all the chocolate is coated in the hot cream.
Cover the bowl to trap the heat and let it rest for 5 minutes.
Remove the lid and slowly whisk the mixture until you have a smooth glossy ganache.
Leave to cool before using as a filling cake.


Whip the 250ml of single cream from above, fold a couple of spoonfuls of ganache into the cream and leave to one side until you are read to use it!


Putting it all Together

When the cake comes out of the oven, leave it in the pan to cool for about 10 minutes. Using the parchment to help you, roll up the cake and remove it from the pan. In it's rolled up state, leave it to cool completely on the wire rack.

Once cold, unroll the cake and fill it with the ganache, followed by the cream and then roll it back up slowly and smoothly. Having cooled curled, you shouldn't get any cracks. Trim off the edges, place on your serving tray join side down and dust in icing sugar. 


This cake is best served on the day you make it, but it does hold when wrapped up in the fridge for about three days. I will hopefully be baking sooner, rather than later with my attempts at Tudor Week, I have no idea what to even expect here! Be sure to pop by Jenny's and the other GBBObloggers bakes to get your Bake Off  fill!


04 September 2016

Lemon and Lavender Shortbread


I figured I would run with the signature bake with this weeks Bake Off bake-along. I didn't fancy anything made out of gingerbread this side of Halloween and Viennese Whirls in the technical just don't float my boat.

I opted for a tried and true shortbread but jazzed these little ladies up with a punch of Lavender.. iced the top, for the iced component, with a soft set lemon icing and painted.... with the the least amount of artistic talent pretty 'lavender sprigs' on top. Just in case you were wondering what they were.

I actually felt really anxious about posting these as I'm not enamored with the painting. Husband, being the ever supportive so and so that he is.. convinced me otherwise. So... My hand painted lavender sprigs need some work, I know... but if you squint a little they kinda look like they might be related to a lavender sprig! Hah! Let's move on...

I haven't picked my favourite bakers in the tent yet either.. you? I am being very lazy about it this year. I was really wrong last year, but this year I am not so sure who I like the best. The minute I like them though, they'll be gone. It's like the Game of Thrones of the baking world. Like them... GONE!


Lemon and Lavender Shortbread

225g soft salted butter
225g plain flour
125g cornflour
85g caster sugar
2 tablespoons of lavender
Pinch of salt
500g icing sugar
4-6 tablespoons lemon juice

Preheat the oven to 150C/300F or Gas Mark 2
Dry whisk the flour, cornflour, salt, sugar and lavender until fully mixed.
Work in the butter a little at a time until it forms soft bread crumbs and pressing gently with your hands, you could form a dough ball.

On floured work surface, roll out the dough and cut out 12-16 biscuits, depending on your biscuit thickness. 
Place on a lined baking sheet and bake for 20-25 minutes until firm and just starting to colour.
Allow to cool on tray completely then transfer to a wire rack.


Make the lemon glaze by mixing the 500g of icing sugar in with the lemon juice. Dip the biscuits into the glaze, allow to set before serving or before painting random things with food colouring on the top!

The glaze is super runny so I advise letting them drip dry on a wire rack, over a baking pan. Save your counters for some other mess.


What do you think? If you make anything, try the shortbread. It's really delicious. And a great little basic crumbly cookie recipe also. Omit the the lavender, add a teaspoon of vanilla and you are all set for a yummy treat!

If you want to see what the other bakers baked, be sure to hop on over to Jenny at MummyMishaps and wander through the linky!


I also have to acknowledge how very special today is... my Dolly, my baby girl turns 15. My teeny, tiny baby girl who this day all those years ago, changed my world in every conceivable way. 

We get the "but you look like sisters" a lot. Much to my Dolly's absolute dismay. I'm her Momma. The old lady who makes sure she's brushed her teeth, nags her about homework and laundry and chores. I'm also the one who introduced her to Harry Potter, bought her her first set of crayons, showed her how to thread a bobbin and braid her hair. She's my artist. My day dreamer. My fairy.

She's showed me how to hand-stand against the wall. Look for animal tracks in the forest, name plants and do science experiments with most of my baking arsenal! She showed me how to do renaming in maths and paint my nails in colours other than red. 

She's taught me that time spent watching Gilmore Girls on the couch, under a blanket eating popcorn and chocolate until our stomachs ache, is one of the best ways to spend an evening. Or how reading stories in the lamp light, over and over, until we can both recite the pages of the book before we even turn it over, is what being a Momma is all about.

She's my daughter. One of my best friend's and obviously the best big sister a little brother could ask for.

Dolly's taught me so much about myself. Our world. Our little family that I really don't see how I would have got as far as I have without her.

She is mine. My proudest achievement to date. Happy Birthday Doll! 

Every year for as long as I have been baking,, the same birthday cake gets made. Chocolate fudge, chocolate frosting with all the trimmings. This year was no exception... Chocolate fudge cake with chocolate frosting dressed in homemade cookies and baked donuts. I have three photos... THREE, just below!

Teenagers eat cake really fast. I should have taken it out for a photo shoot when I had made it, but no I was just super excited for the party... I'll know for next year!


16 August 2015

Sugar Cookie Fairy Bread


In our house we have a fairy door and behind that fairy door lives a little fairy called Amy. We don't know what kind of fairy she is, how she came about to pick her spot at the end of our stairs, but her door is there and we say hello to her when we pass. 

Amy, loves baking. We just know she does so when we knew this week was biscuits on the Bake Off, we knew exactly what we were making. 

We reckon she's friends with or works with the tooth fairy. Works all night long collecting teeth and then needs to sleep during the day. That's why, when we knock, she doesn't come to the door. 

We always let Amy know when we make fairy bread. We know it's her favourite because when we have left some small bits out for her to eat. They are always gone, lickety split!


Sugar Cookie- (Minus the hundreds and thousands this is your base sugar cookie recipe)

225g soft salted butter
225g plain flour
125g cornflour
85g caster sugar

Couple handfuls of hundreds and thousands, or to your taste.

Preheat the oven to 150C/ 300F or gas mark 2.
Dry whisk the flour, cornflour, salt, sugar and hundreds and thousands until fully mixed.
Work in the butter a little a t a time until it forms a dough ball.
On a piece of floured parchment, roll out the dough and cut out 12 cookies.
Place on a lined baking sheet and sprinkle the extra caster sugar over the top of each cookie.
Bake for 40-45 minutes until firm and just starting to colour.

Allow to cool on tray for 5 minutes then transfer to a wire rack


Linking these magical little treats up with all the bloggers and Jenny of MummyMishaps of the Great British Bake Off Bloggers 2015!

Andrea from the lovely blog All You Need is Love and Cake is our fine host this week, so why not pop on over and see what all the other bloggers made...


Copyright © Procrastibake | Theme by Neat Design Corner |