Showing posts with label nochurn. Show all posts

02 August 2016

Brown Sugar Shortbread with a Peach (no-churn) Ice Cream


For those of you into numbers, this recipe will be brought to you by the number three.

It's not that I planned it that way, it's just how it is really. What follows are three, incredibly simple easy makes. Having them individually, on their own is fabulous but smooshed together on a hot summers day... Now you are talking my language!

Peaches are in season so perfect to buy ripe and juicy right now, but if you are lazy you can totally opt for canned.. No one is going to judge you! All recipes contain three ingredients. Three, no more and no less. Three exactly.

That's it.

Like honestly, you cannot go wrong with this. Make one or all and bask in your baking prowess.


Baked Peach Puree

3 whole peaches skinned, de-stoned and chopped in half
a little knob of butter for each peach half
sprinkle of brown sugar

Preheat your oven to 180C/350F or Gas Mark 4.
In an oven proof dish, add all the ingredients and pop in the oven, uncovered for 25 minutes until the juices are bubbling the sugar has melted and the peaches are gone all squidgy.
Remove from the oven, allow to cool for about 10 minutes and then blitz into a puree with a hand blender or similar.


Peaches and Cream Ice Cream

500ml of single cream
1 can of condensed milk
the batch of peach puree

Whip the cream up until peaks form.
Add in the condensed milk and continue to whip until thick.
Fold through the batch of peach puree and transfer into a freezer proof container (I like to use a loaf pan). Cover the container with clingfilm or a lid.
Pop into the freezer for at least 4 hours to set.


Brown Sugar Shortbread

225g salted butter at room temperature
285g self-raising flour
110g soft brown sugar

Preheat the oven to 150C/300F or Gas Mark 2. Line two cookies sheets with baking parchment.
In a bowl, cream the butter and sugar together until it is one sticky mess.
Add the flour and mix until just combined.
Toss the dough out onto a pre-floured counter top and knead together.
Wrap the dough up into some clingfilm and pop into the fridge for 20-30 minutes, to allow the butter to cool.


Roll out the dough onto a pre-floured counter top and cut out your shapes.

I like to do little circles... JUST REMEMBER to space the cookies apart as they spread when they are baking.. I usually get about 16 cookies from my dough.

Bake for 15-20 mins on the lowest racks in the oven, until they have turned that beautiful caramel colour. They will be soft (and hot) to touch when you take them out. You need to leave them on the tray to cool completely. By doing so you will have that soft, melt in your mouth crumbly texture to them.

Just like shortbread should!


Once you've gotten through all the steps assemble how you please.

I like to do the scoop on top of a cookies, but you could sandwich the ice cream between two... or even crumble the cookies into crumbs and sprinkle it all haphazard like.

Whatever you do, enjoy it. That's the main thing!

07 August 2015

Rocky Road (no churn) Ice Cream


Chocolate ice cream is one of those things that makes me giddy. Like actually giddy. Like little girl, annoying her parents after one too many chocolate ice creams, giddy. 

I know you might think that's weird, or sad, but let me tell you... I'm a girl of very simple (though sometimes intricate and pretentious) taste. And chocolate ice cream is one of those tastes. It's pure, basic simplicity excites me.

Now, I figured that the best chocolate ice cream came from a carton in the freezer at the supermarket. That without an ice cream maker it would just taste like... meh... nothing great! But I was wrong.

Wrong.

So very wrong.

There is nothing easier than making home made chocolate ice cream. If you have all the ingredients in your cupboard, an electric mixer and 15 minutes to kill, then you could have a tub of chocolate ice cream in the freezer and head on off about your day!


First I need you to ask yourself; do you like chocolate, marshmallow, biscuits, chocolate chips? You do, well then this ice cream is for you. If you don't, you need to reevaluate your life decisions to date (joking!). If you don't, make it for some one who does and just watch their face light up like you have just handed them a unicorn.

It is that good. I know it is. And you will too.


The beauty about this recipe is that it can be customised to your liking.  You like more chocolate chips? Put them in. You like nuts? Put them in. You like peanut butter? Put. It. In. You want to make it a triple chocolate, diabetic coma inducing feast of deliciousness... Go ahead! Add in chocolate fudge sauce like your life depends on it.

Just be sure to give it the freezing time it needs. That's the hard part here. But patience young Padawan, patience. It will be worth all the wait.

So very worth it.

Rocky Road Ice Cream
This ice cream melts a little quicker than your traditional churned, custard based ice creams. The air that would normally be circulated in an ice cream machine is created by whipping up the double cream and the custard element is replaced with the condensed milk.  All that you need to take from those last sentences is that it melts, a little quicker, so you have to eat it faster.

(this is your basic chocolate ice cream recipe)
125g dark chocolate
125g milk chocolate
250ml of full fat milk
1 can condensed milk
1 teaspoon vanilla
1 tablespoon coco powder
pinch of salt
500ml of double cream

(add anything else you want)
150g marshmallows
150g crushed biscuits
125g chocolate chips


Break up the chocolate into a heatproof bowl and add the condensed milk.
Heat the full fat milk to just before boiling and pour over the chocolate and condensed milk. Let stand for 5 minutes or so to melt and cool slightly. Then mix through fully,  making sure all the chocolate is melted.

Add in all your extra ingredients and mix through again.


Whip the double cream with the vanilla, so that when you lift out the beater it stands all on it's own.


Fold the chocolate mix in with the whipped cream until fully incorporated and transfer to the tub, tin or whatever you are going to use to freeze it in (Tip: not glass.. don't be a silly goose). I used my 2lb loaf tin and covered it with a bit of cling film, to stop ice particles forming. You could use any tin, plastic box or tub you have.

Pop the ice cream in the freezer for at least 8 hours, but if you can wait, overnight is best. When you do take it out, allow it to sit on the counter for about 5 minutes to soften. It'll make it easier to scoop out.

All ready for the freezer!


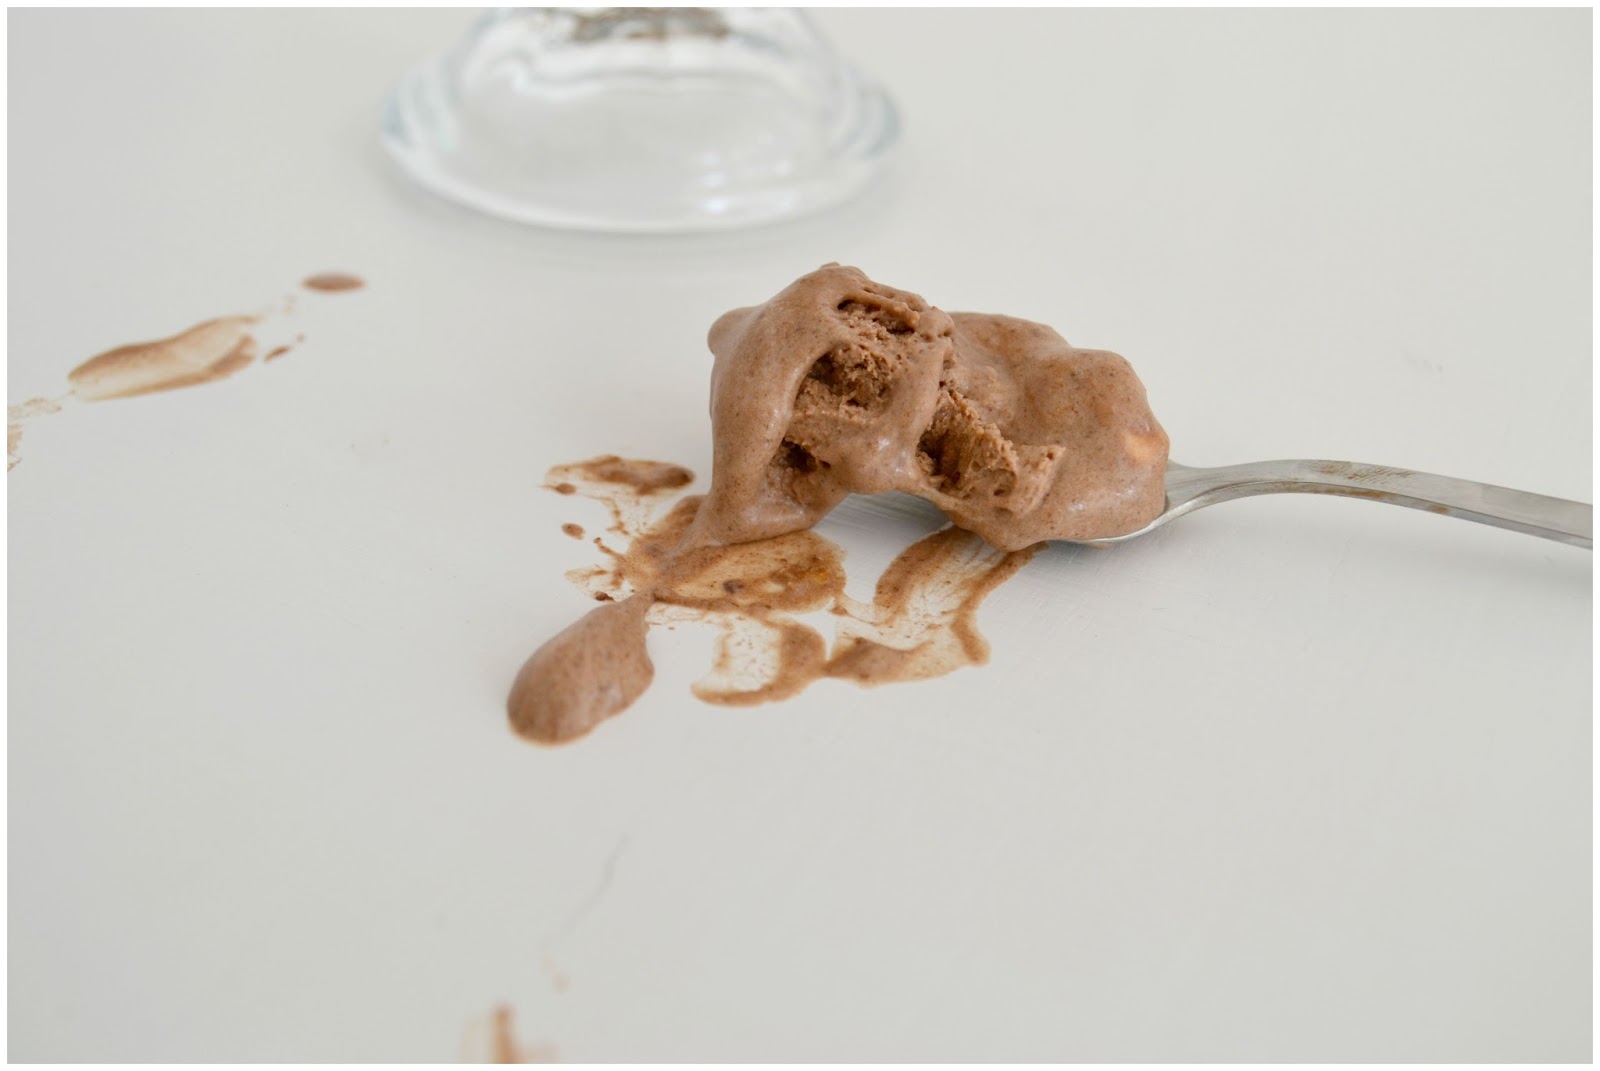
Once you're done, revel in it's glory. It's chocolately, creamy, marshmallowey, crunchy glory. Enjoy, savor and join the club where you'll swear that you will never buy store bought ice cream again. 

We are working on our t-shirts.


Copyright © Procrastibake | Theme by Neat Design Corner |